When it comes to your WooCommerce store, product photos matter. As convenient as online shopping is, it also means customers cannot touch, see or feel the item they are buying. That’s why they have to rely on images.
Product photography is the best way to show potential buyers that the items in your store are quality products. Product photos are also the closest alternative to a physical store window so it’s important to get them right.
However, when you’re just starting out, professional product photos might be out of your pricing range. The good news is that not all is lost. In fact, you can create polished product photos even if you’re on a budget and in this post we will show you how.
We will explain how product photography can help you increase the sales in your store and share tips on how to take professional photos as well as list out the equipment you will need.
How Product Photography Can Help You Increase Sales
According to research, 65% of the population are visual learners. On top of that, 90% of information that comes to the brain is visual. As such, product photography is an important part of the buying process and there are two ways product photography can help you increase sales.
1. Product Photos Are a Testimonial to Product Quality
As mentioned earlier, product photos go a long way towards representing the product quality and they are crucial when it comes to the buying process. Statistics show that 93% of consumers consider visual appearance to be the key deciding factor in a purchasing decision.
When done right, great product photos can showcase what the product is made of and it allows us to visualize how it would look in use once we make the purchase.
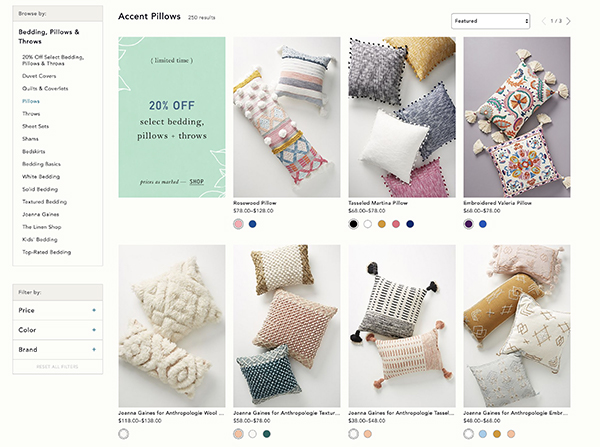
Anthropologie Product Photography Example
2. Product Photos Help You Build Brand Recognition
Another reason why product photos are so important is because they can help you build brand recognition. For starters, the way you style your photos, the overall mood, lighting, and colors used in the photos can help customers associate certain products and product photos with your online store when you share them on social media platforms.
Another way product photos build brand recognition is if you have a signature product that’s easily recognizable.
Now that we’ve covered why product photography matters, let’s go over the two main product photography types.
Two Main Product Photography Types
When it comes to your product photography, there are two ways to present your photos:
- product-only photos against a solid background
- Lifestyle photos that show the product in use
Product-Only Photos
Product-only photos are usually taken against a solid background. The background is usually white but if your product is made out of light materials, using a dark-colored background might be a better choice.
Consider for example, Dr. Martens. As you can see from the screenshot below, each of their product photos features their product isolated against a pure white background and a noticeable shadow. This gives the whole store a unified, branded look and their product is instantly recognizable.
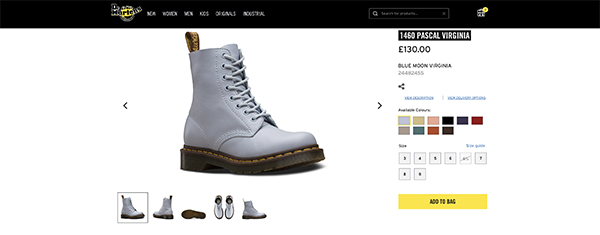
Product-only photos are meant to showcase your product in all its glory and from all possible angles. They help visitors to see the product from all sides and make it easy for them to visualize how big the product is, how it would feel, and more. These types of photos are best-suited for your shop and product pages.
Lifestyle Photos
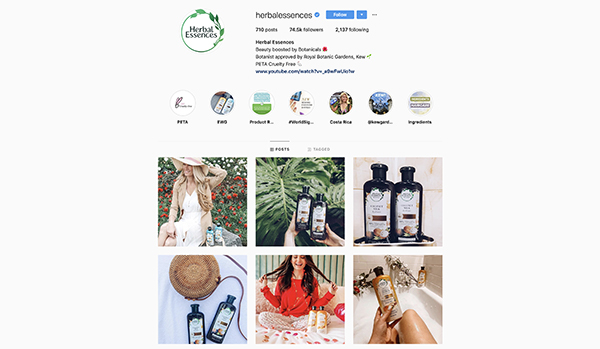
Lifestyle photos, on the other hand, allow customers to see what the product looks like when in use. Lifestyle photos usually involve models or the product’s natural environment.
These can include:
- Clothing items worn by models
- Tools placed on a working table or in a toolbox
- Appliances or furniture photos taken in an apartment or a house
- And more
Lifestyle photos can be used on your social media platforms, email newsletters, and advertising campaigns to get potential customers interested in your product and encourage them to visit your site.
Take a look at how Herbal Essences uses lifestyle photos on Instagram and other social media platforms.
How to Setup Your DIY Photo Studio on a Budget
When you’re getting ready to take product photos, it’s important to have some basic equipment. All the items on this list are inexpensive which means they won’t make a big dent in your budget but will make a world of difference when it comes to your photos.
1. Background
The first item on this list is the background you will use for the photos. Depending on the type of product you sell and your brand, this will be either a white or a dark solid color surface.
Getting the background right will facilitate the editing process and make it easier to remove it from the picture later on if needed.
A few inexpensive ideas include:
- A collapsible backdrop background
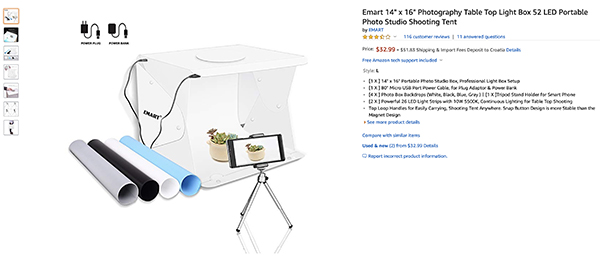
- A tabletop light box
- A roll of craft paper that can be clipped on a chair
- Styrofoam boards that you can use to build your own lightbox
2. Tripod
A tripod will help stabilize your camera and prevent blurry, shaky photos. A quality tripod will serve you for years to come so it’s definitely a worthwhile investment. You can pick one up from Amazon or from your local photography store.
3. Camera
The best product photos are usually taken with a professional DSLR camera. DSLR cameras have gotten significantly cheaper over the years, however, they are still quite pricey when you’re getting started.
The good news is that you can take quality pictures with your smartphone. Nowadays, many smartphones have cameras that can produce quality photos and are actually embraced by professional photographers as viable camera alternatives. When paired with the rest of the equipment and tips in this article, you will be able to take great product photos for your WooCommerce store even with your smartphone.
4. Lighting
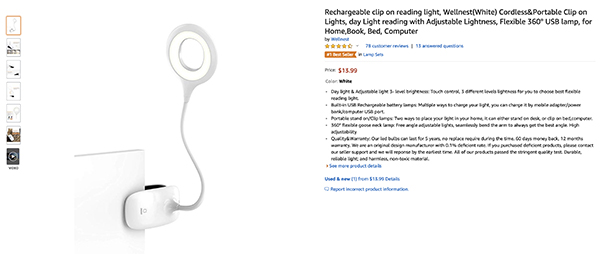
Lastly, you will need to make sure your product photos are well-lit. Using natural light is a good place to start but if you don’t have a lot of natural light available to you, you will need to invest in lighting equipment.
For example, you can use these affordable clip-on light lamps from Amazon to give your product more lighting:
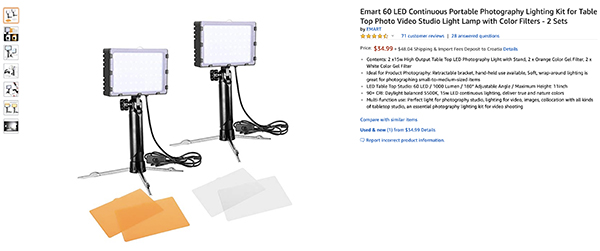
If the budget allows, you can use this Portable Photography Lighting Kit for tabletop photos.
4 Tips to Help You Take Great Product Photos On A Budget
Once you have basic equipment down, it’s time to take photos of your products. Below are the most important tips that will help you take great product photos using the equipment we mentioned earlier.
Use Natural Light Whenever Possible
Natural light is the most inexpensive option for creating great product photos. Natural light also helps create a warm ambiance and a pleasing mood for your photos.
You can use a table that’s set up near a window and a styrofoam board that serves as a light diffuser if the light is too harsh.
You will want to shoot your images in the morning when the lighting conditions are the best as this will give you more light to play with. Bear in mind that you should never take photos under direct sunlight as this will create harsh shadows.
Apply the Rule of Thirds
No matter what type of product photos you are shooting, applying the rule of thirds will help make the composition of your photo much better. The rule of thirds means your photo is divided into imaginary thirds and the subject is placed on the intersection of two lines instead of in the center of the photo.
The rule of thirds stems from the idea that the eye is naturally drawn to the to intersection points that happen when you split an image into thirds. Aside from drawing attention to your product, the rule of thirds also helps capture more whitespace around the subject which makes it easier to edit the photo later on.
Don’t Forget Post-Processing
Unfortunately, simply taking the photos and then posting them as is on your website is not enough. You have to spend some time on the editing and post-processing to make sure your photos look great.
For starters, you will want to remove the background if you want to use product-only photos. Once the background has been removed, you can adjust the brightness. Consider adding subtle shadows to make the product appear more natural.
If you’re handy with Photoshop, you can easily edit your photos using the selection, eraser, and adjustment tools. If you don’t have Photoshop, you can use online tools such as Pixlr, Fotor or Picmonkey to edit your photos.

Optimize Images for the Web
Once your images are edited and retouched, you need to optimize them for the web. This means saving them in the appropriate format as well as reducing the size. Doing so will make sure your store’s loading times don’t suffer as slow loading times can hurt your conversion rates.
We have a detailed guide on optimizing images for the web as well as how to optimize slider images so be sure to give them a read and optimize your product photos.
Final Thoughts
Great product photography helps increase sales in your WooCommerce store by helping customers visualize how the product looks like and get a feel for the product. Thankfully, you don’t need a big budget to take quality photos of your products. Simply follow the tips outlined in this article and you will be well on your way towards having stunning product photos that convert visitors into buyers and help you make more money.