1 … 2 … 3 … – your potential customer just closed your site because it is still loading. Sounds familiar? I believe you were that impatient and frustrated visitor many times. I know I was. That is why I compiled an ultimate list of things you need to know about image optimization. It is going to be long, but I hope you will find it worth reading.
Table of Contents
- The Contents of This Article in 3 Min Video
- Image Optimization Benefits
- Image Formats
- Resize Images Before Uploading
- Compressing Images
- Best Online Tools for Image Compression
- Best WordPress Plugins for Image Compression
- WP Smush (Free version)
- Compress JPEG & PNG images by TinyPNG
- ShortPixel
- Imagify
- EWWW Image Optimizer (Free version)
- Results for Best WordPress Plugin for Image Compressing
- Best WordPress Plugin for Compressing JPEGs
- Best WordPress Plugin for Compressing PNGs
- Best WordPress Plugin for Image Compressing Overall
- Conclusion
The Contents of This Article in 3 Min Video
Here is a very quick video overview of this article. I still recommend reading, but just to tease you enough, here we go:
Image Optimization Benefits
Are you still not sold on all the image optimization thing? Let’s look at all the benefits that you will get, if you only fix that small and trivial problem:
- Your site will be faster
- Your Google PageSpeed score will be better
- Google will like you more and your search engine rankings will improve
- Your bounce rate will be smaller and more visitors will see your page
- You will need less storage on your servers and you will spend fewer resources on servers, which will save you money
- You will save mobile data plan money for yourself and your visitors
I’ve got your attention now, right? Now we can start with the real work.
Image Formats
Image optimization starts with some basic knowledge about image formats. The two most common formats on the internet are PNG with extension .png and JPEG with extension .jpg. I will use JPEG in most cases, since it is the best format for photos, images with gradients and images with millions of colors. On the other hand, PNG is better with limited color images, such as logos, and with the images with transparency.
The next example will show you, just how important it is to choose the right image format for the best image optimization.

I will save our non-optimized child.jpg image in both .jpg and .png formats. We can see, that image child-saved-as-jpeg.jpg is 3.1 MB big and image child-saved-as-png.png is 4.5 MB big. In this case, the PNG picture became 45% bigger than the JPEGs image, a difference that simply derives from picking a specific image format. There is no easier way to save that much space with so little effort. Well, maybe there is. Let’s take a look at the next step.
Resize Images Before Uploading
We saved some space with choosing the correct image format in our previous example, but we can save even more space, if we resize the image before uploading it. But how much should we resize it? It really depends on the width and the container of your website.
On our ProteusThemes site, the maximum width for the image is 1110 px, so I will resize the current image child.jpg, which is 1800 px wide, to 1110 px in width. In that case we just went from 3.1 MB to 1.1 MB in size, which is another 65% of saved and reduced space.
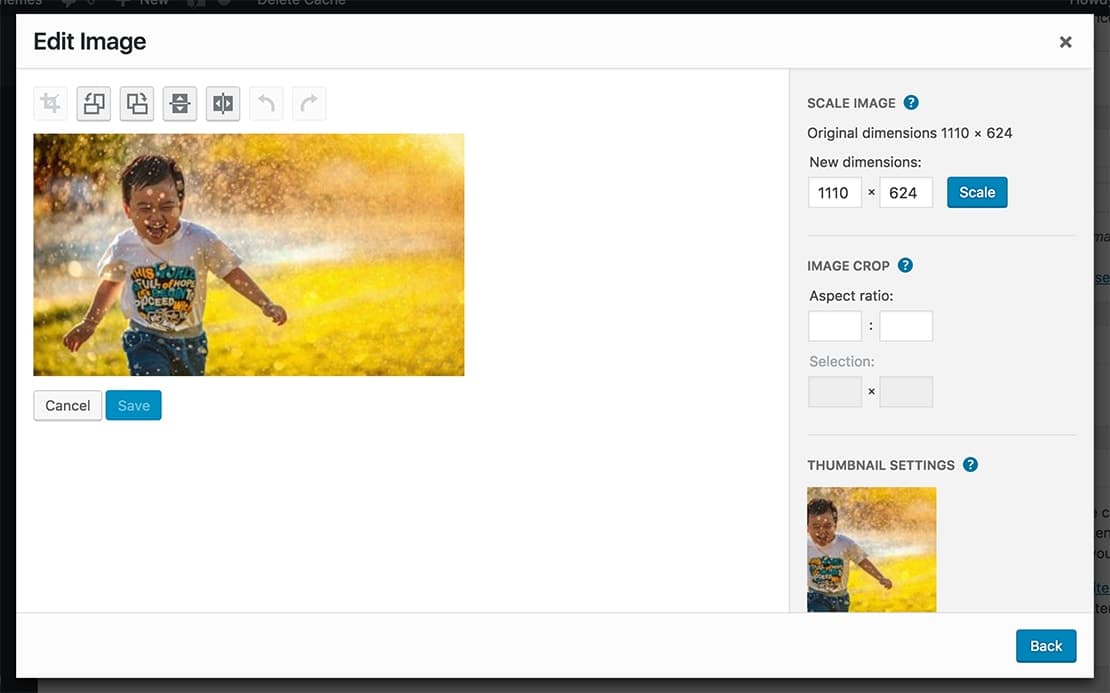
Hint: You can resize images directly in your WordPress Media Library. Click on the Media -> Select your image -> Edit Image and pick new dimensions for your image:
Imsanity WordPress Plugin for Automatically Resizing Images
If you don’t want to think about image resizing or if many different users upload images to your website, then Imsanity plugin should work perfectly for you. In the plugin settings, you can choose the maximum width or height the images should have and the plugin will resize all the bigger images to that size. You can also select bulk-resize feature to resize all the existing images. I definitely recommend this plugin to anyone, who has problems with resizing each image separately before uploading it. You can download Imsanity plugin for free.
Compressing Images
Now that we’ve learned the basics of image optimization, let’s see how we can we raise our game. We can find numerous image compression online tools on the internet and even WordPress plugins, which will reduce the size of your image. But we have to be careful here, some of the tools will make almost no difference and some of the settings will destroy our image and make it useless. So, how to find the perfect balance? Don’t worry, at the time of writing (June 2017, updated 2018), we tested all the most popular online tools/services and WordPress plugins for image optimization and we’ve made a selection of the best ones.
We’ve used 3 different JPEG images and 1 PNG image to conduct our test.
All 3 JPEG images are from Unsplash, by authors Mi Pham, Breather, Denise Chan and Niko Virtanen. They were cropped and resized to 1110 x 624 px for test purposes.


For PNG image, we’ve created our own image with the ProteusThemes logo and some pattern behind it. Just like JPEG test images, this one is also resized to 1110 x 624 px.
We will now put all the images through all selected tools and plugins for compression and we will find out, which one is the best one for you to use. Let’s start with online tools.
Best Online Tools for Image Compression
At the time of writing (June 2017, updated 2018), here is a complete list of the most popular online tools and services for image compression:
If you think some other tool deserves to be on that list, let us know, we will test it and add it to the list. You can find my reviews of each tool below, plus my assessment of the best ones. If you don’t want to read about each individual tool, click here – Show me the winners!
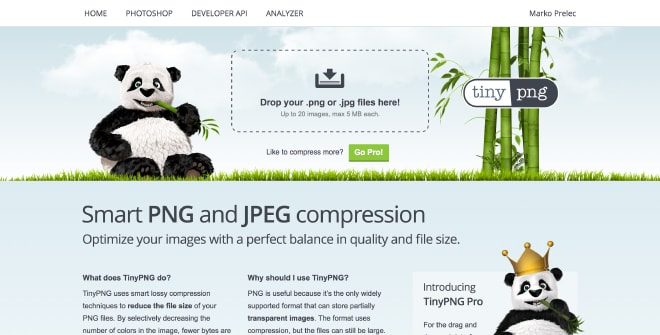
TinyPNG
TinyPNG was one of the first image compression tools I used and I still use it sometimes. There are no options, you just upload the images and you will get them compressed. With this online tool, you can bulk upload up to 20 images with the size of 5 MB.
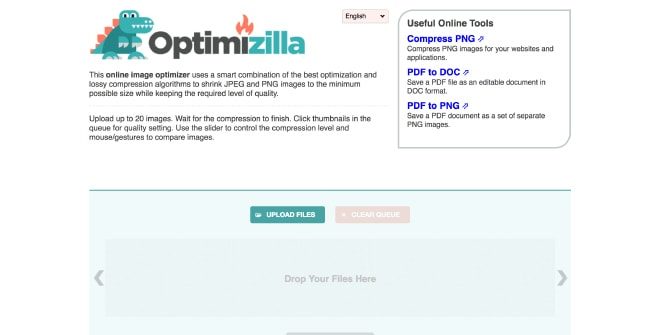
Optimizilla
Optimizilla is another simple but powerful online tool. It is free to use and it has an option to bulk upload up to 20 images. For best compression/quality ratio we leave quality setting at 90, as it is by default. If you want to push compression even further, just change this setting and you will see changes in the quality right away.
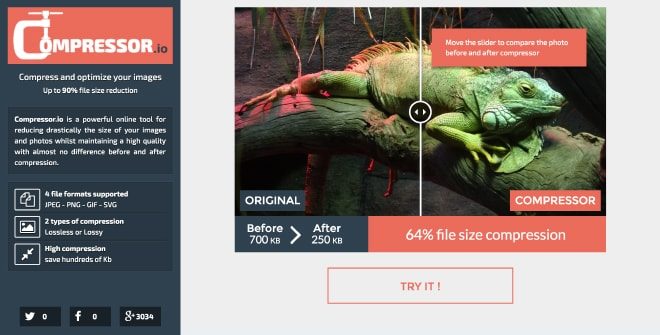
Compressor
Compressor has a potential to become one of the best tools for image compression, but it has one big flaw. There is currently no option for bulk upload, which means you can only compress 1 image at the time. Other than that, it’s free, easy to use and with two compressing options. We use lossy option in our test, since the quality of the image still stays the same after the compression.
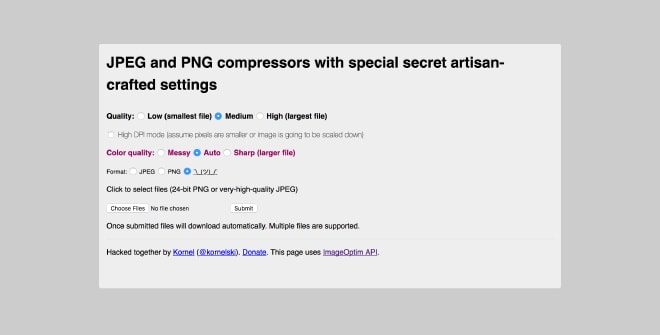
ImageOptim
ImageOptim is a tool with a lot of settings. You can choose between 3 different quality options and 3 different color quality options. We found out, that the best compression/quality results are with the default settings. Set quality to medium and color quality to auto. The thing that bothered me the most with the ImageOptim, next to the little outdated design, was that it export JPEGs even if I upload PNGs. I have sent Kornel (creator of the ImageOptim) an email about that issue and he already fixed it.
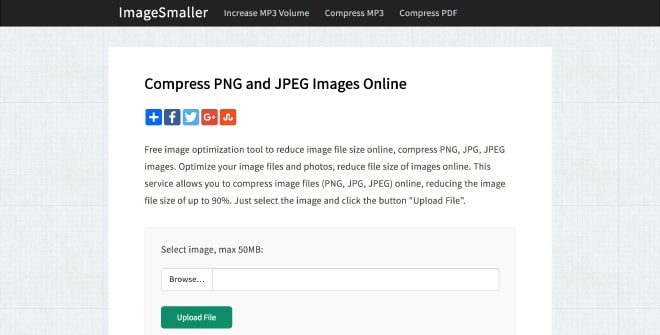
ImageSmaller
Just like with Compressor, ImageSmaller has the same flaw. There is no option for bulk upload. However, it has one of the biggest upload limits, with the 50 MB. If you have bigger files to optimize, then ImageSmaller could be the right tool for you.
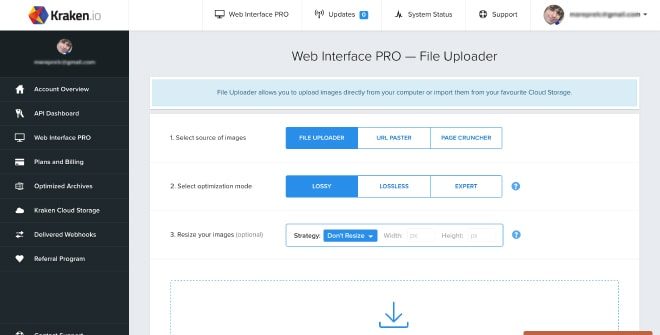
Kraken
Kraken is a premium image compression tool, with the best dashboard among all tools I have tested. You will find nice web interface for uploading your images and a lot of different settings for the best results. We used their default lossy settings in our test.
JPEG.io
JPEG.io is a free version of the same tool as Kraken. It has the same compression capabilities, but like the URL of the website tells us, it is only for JPEGs.

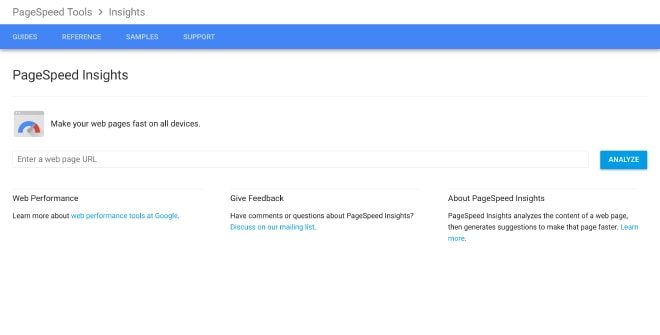
PageSpeed Insights
You didn’t expect to see this one here, right? PageSpeed Insights also gives us a .zip of compressed files when we are testing our site. This is not the most user friendly way, since you will already have to have your website online with all the images and then replace them with the new compressed ones, but you will get images compressed just like Google wants them.
Results for Best Online Compression Tool
Below you will find graphs with results from all our tests. You can also check our detailed spreadsheet for more information.
Best Online Compression Tool for JPEGs
 Most tools compressed our test JPEGs for around 80%. Let’s take a look at our child.jpg image. We started with 3.1 MB size picture and after the resizing and compressing our image was only 165 KB big, which means 95% smaller in size. Now, that’s a difference! We managed to get the same results with Compressor and ImageOptim. So, it looks like we have two winners here.
Best Online Compression Tool for PNGs
 For our PNG test we got an average of 50% reduced size with all tools. However, Optimizilla was a little bit better than the rest of them, with 56% reduced size of our pt-logo.png image.
Best Online Image Compression Tool Overall
 Even if Optimizilla hadn’t been the best compression tool for JPEGs, I would have recommended it as the best compression tool currently available online. JPEGs compressed with 79% are still awesome and you can push that even higher, with a simple quality setting on the page. It also has an option for bulk upload, where Compressor is missing and more reliable upload, than ImageOptim, where all the images are exported as JPEGs, even if PNGs are among them. Because of all these things, I think that Optimizilla deserves the title of the best online image compression tool.
Next, let’s see, if WordPress plugins can beat online image compression tools.
Best WordPress Plugins for Image Compression
What is the difference between online image tools and WordPress plugins? Well, if you use online image tools for image compression, you will still need to upload those images to your WordPress site and then use them. If you prefer having everything in one place, then WordPress plugin for Image Compression could be the way to go. Most plugins also have an option to optimize images with the upload, so you can turn on that setting and forget about any additional work.
I made a new WordPress site for each plugin and uploaded the same 4 images every time. Different plugins have different settings, so I was looking for the perfect balance between compression and image quality.
I tested the following plugins:
- WP Smush (free version)
- Compress JPEG & PNG Images by TinyPNG
- ShortPixel
- Imagify
- EWWW Image Optimizer (free version)
Like I’ve mentioned before, if you know any other plugin that we should test, let us know and we will add it on the list. If you don’t want to learn more about these plugins, click here – Show me the winners!
WP Smush (Free version)
WP Smush is one of the oldest plugins for image compression that I know. It has one nice advantage against all the other plugins, since there is no need for registration in order to use a free version. It also has an option for automatically compressing newly uploaded images, so once the plugin is set, you can forget about it and it will do all the work for you in the background. Unfortunately, compression results were one of the worst in the free version, so I would not recommend using it. They have stated on their site, that the pro version is compressing much better, so I will also test this one out in the next update of the article.

Compress JPEG & PNG images by TinyPNG
Just like TinyPNG online compression tool, WordPress plugin is also very simple. Once you go through the registration, it has minimal settings and it is basically working out of the box. All newly uploaded images can also be automatically compressed, so you can activate the plugin and forget about it.
ShortPixel
ShortPixel was, personally, one of the biggest surprises. I’ve never heard of it before my research and I was really impressed. With default lossy recommended settings, it has the best compression results between WordPress plugins and it also has a glossy option. This option is for photographers or any other professionals, who need very high quality pictures and can’t compromise with the loss of quality.
![]()
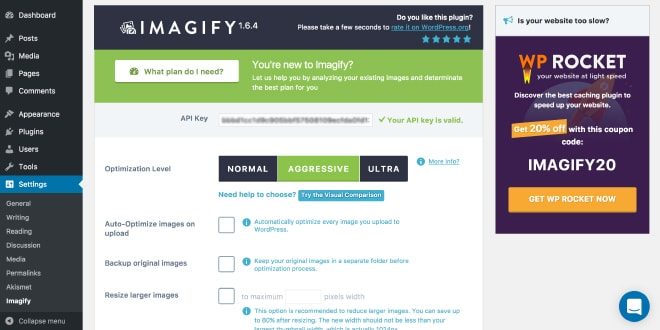
Imagify
Imagify is a plugin, made by the hands of famous WP Rocket plugin authors. After the registration, you will get a few clear options to choose from. For the best ration compression and image quality choose aggressive mode. One nice thing in the settings is also an option to have a separate folder for original images, in case anything went wrong with the compression. The only thing I didn’t completely understand, is why must we switch to the list view in media in order to see compression results. Other than that, Imagify is really nice and solid plugin.
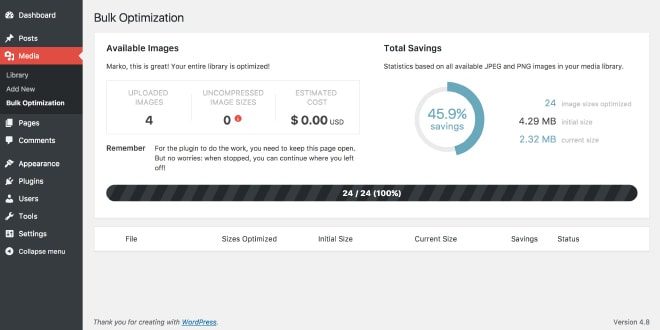
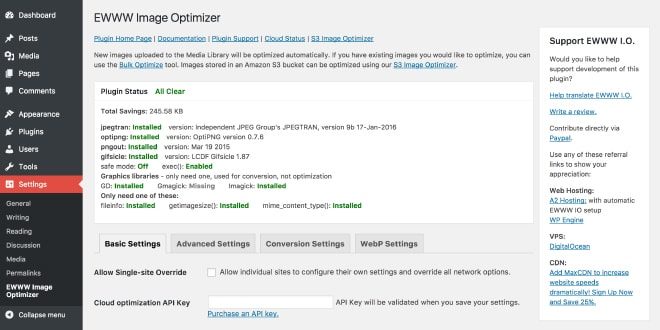
EWWW Image Optimizer (Free version)
EWWW Image Optimizer was the only plugin, which gave me some errors. Firstly, I tried it on my own hosting and I got an error, that EWWW Image Optimizer requires exec() or API key. The next time I tried the plugin on my local development WordPress site and I got an error that I am missing pngout. I followed the instruction on how to install it and the plugin was finally ready for test. Since I’ve tested the free version, there was only a lossless option, which didn’t lead to the best results. Just like with the WP Smush, I will also test EWWW Image Optimizer pro version in the next article update and we will see, if it will perform any better.
Results for Best WordPress Plugin for Image Compressing
Just like before you will find graphs with results from all our tests below. You can also check our detailed spreadsheet for more information.
Best WordPress Plugin for Compressing JPEGs
 ShortPixel was the winner, with an average of 84% compression. The same as Compressor and ImageOptim in the category for best online compression tool. Second best plugin was Imagify, with an average of 70% compression. I declare that ShortPixel is currently the absolute winner of that category.
Best WordPress Plugin for Compressing PNGs
 The best PNG compression plugin is called Compress JPEG & PNG images by TinyPNG, with 56% compression. Interestingly, the best result is, again, the same as in the category for best online compression tool. However, other plugins where a little bit more competitive here, with the compression of around 50%.
Best WordPress Plugin for Image Compressing Overall
 In my opinion, the best ratio between user experience, different settings and compression, was from ShortPixel plugin. Overall, It is a very solid plugin, with many options, but also with already great default settings. You can start using the plugin immediately after the registration and most importantly, compression is great. At the moment, I would go with the ShortPixel plugin for my own website, especially, if the majority of images are JPEGs.
Conclusion
That was a long trip, right? Meanwhile, we managed to compress our child.jpg image for up to 95%. Your website can work that much faster, if you only follow these 3 simple steps. Let’s repeat them again:
- Select correct image format
- Resize image before uploading
- Compress image with the online tools or WordPress plugins
Another important thing is, that you use only one tool or WordPress plugin for each image, since most of them have some kind of lossy compression, which means that the quality of your image could get worse with each additional compression and that is something we don’t want. We also added all the test images on the GitHub if you would like to check quality comparison between them or test some other tools and plugins on your own.
You shouldn’t have any more excuses for not compressing your images. There are many tools and different ways to do it and we’ve proved it, that it is worth it in the end. Choose your own personal winner for online compression or WordPress plugin and go check your website Google PageSpeed score before and after optimization. Share the information of your site speed and score improvement in our comment section. I would also like to know, if this article helped you with the image optimization and what are your thoughts about it.