This post will take you through most of the basic elements of customization that you will need to get your WordPress site looking and feeling good. It is by no means exhaustive but it’s definitely a solid start. As with anything, the more you play around with these things, the easier it will become.
Deleting and adding posts
The first customisation task my colleagues set for me was to delete the default posts on my theme and replace them with my own.
To delete posts, all you need to do is select ‘Posts’ in the Dashboard, when all the posts show up, hover your cursor over the post and you will see the word ‘Trash’ appear in red beneath it. Click ‘Trash’ and you are sorted.
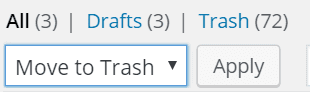 If you would like to delete multiple posts in one go, click the small box next to the word ‘Title’ at the top of your posts section, select ‘Move To Trash’ from the ‘Bulk actions’ dropdown menu and then select ‘Apply’.
Customizer
The next thing to I had to get acquainted with was the ‘Customize’ settings. This tool isn’t just in the usual WP Dashboard, it appears at the top of your WordPress site while you are signed in too.
Here you can change the ‘Site Identity’, which includes the title, tagline, icon and logo of your site. You can also change your theme’s colours and background image here.
You will find that ‘Customize’ is very simple and intuitive to use. All you need to do is select whichever element that you wish to change and then follow the simple instructions to do so.
Adding and removing pages
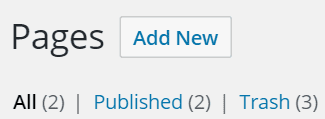 Your site is going to need at least a few pages. Aside from your homepage you will definitely want some sort of ‘About Me’ and probably a ‘Contact Me’ page too. Adding and removing pages is easy. Go to your site’s dashboard, select ‘Pages’, you will see ‘All Pages’ and ‘Add New’
From ‘All Pages’ you can manage the pre-existing pages, and obviously ‘Add New’ is where you add pages.
Menus
Now that you have more pages on your site, you need a menu to display them. In the WP Dashboard select ‘Appearance’ and then ‘Menus’. Once the menu options appear you will see an option to ‘create a new menu’, click on that.

Decide where you want your menu to go. The natural option for newly created pages will be the ‘Primary Menu’. Tick the box next to the desired menu location and then look to the ‘Pages’ section to the left of your screen. Here you will choose the pages that appear in the desired location of the menu.
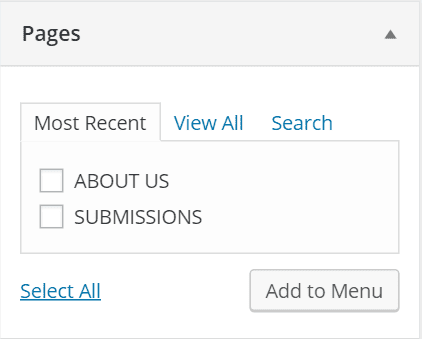
Tick the box next to the pages you which you want to show in your menu. Once you have ticked them, make sure that you click the ‘Add To Menu’ button beneath the list of pages. Now that they are added, just click on the blue ‘Save Menu’ button and you are good to go.
Adding a Contact Form
If you have created a ‘Contact’ page, you need to insert a Contact Form. WP doesn’t offer contact forms out of the box. But there are multiple plugins that allow you to add this function.
What are plugins? They are “extensions” to WordPress, with plugins you can add functionality to your site that the WordPress core doesn’t offer by default. If you go to wordpress.org/plugins and read the descriptions of some plugins you will get an idea of what kind of additional functionality I am talking about.
There are 45k+ free plugins available on wordpress.org alone, so no matter how specific your problem is, there’s likely a plugin to help you. For the contact form I will be using the Contact Form 7 plugin.
Click ‘Plugins’ in the WP Dashboard and select ‘Add New’, search for ‘Contact Form 7’ and when you find it select ‘Install Now’.
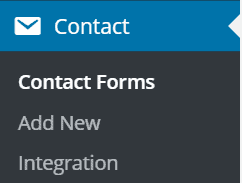 After installing Contact Form 7, just click ‘Contact’ -> ‘Contact Forms’ in your Dashboard. There you will see a shortcode (it should look like this: [contact-form-7 id=”28″ title=”Contact form 1″]), you copy this. Then you need to select the page you want the form to appear on (Contact Me), and and paste the code into the page’s ‘Text’ editor. Click update, and voila, you have a contact form.
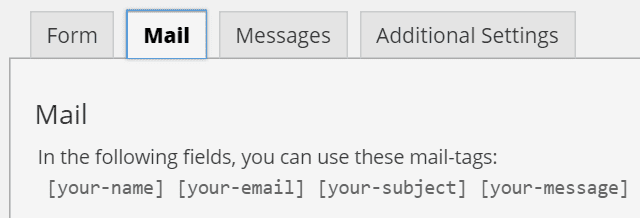
To determine where the messages from your site will go, select ‘Contact’ from the Dashboard, hover over the name of your contact form, mine is Contact Form 1, you will see an option to ‘Edit’, click that and then select the ‘Mail’ tab. You then insert the email address which you want to receive your sites contact requests.
Widgets
Widgets are additional building blocks for your site. WordPress comes with a dozen of its own, but different themes and plugins can add their own as well. The point of a widget is to add some kind of new functionality to your existing page.
Here are some examples of what a Widget can add to your page:
- Custom Menus
- Social Sharing
- Opening Hours
- Most Read
 Select Appearance -> Widgets in your Dashboard. You should see a list entitled ‘Available Widgets’. Once you have decided what kind of Widget you would like to use, you then need to decide where you would like to place it.
Drag and drop your chosen Widget into the defined locations you will see on the right of your screen: 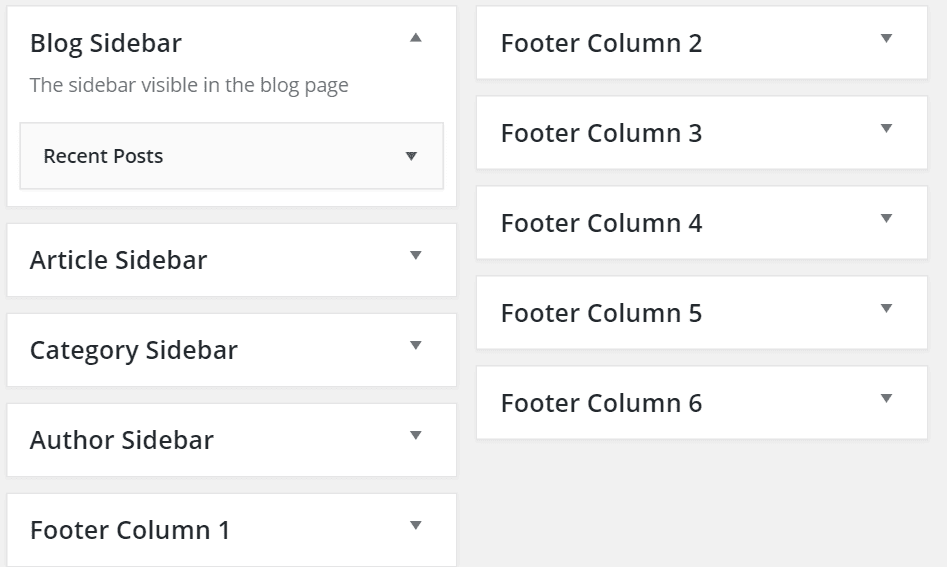
Have a play around with it, Widgets are really important so it’s useful to get a good feel of how they will look and feel in different locations on your site.
This covers it for my basic customization tips. In the coming weeks the topics will be getting a little more tricky.